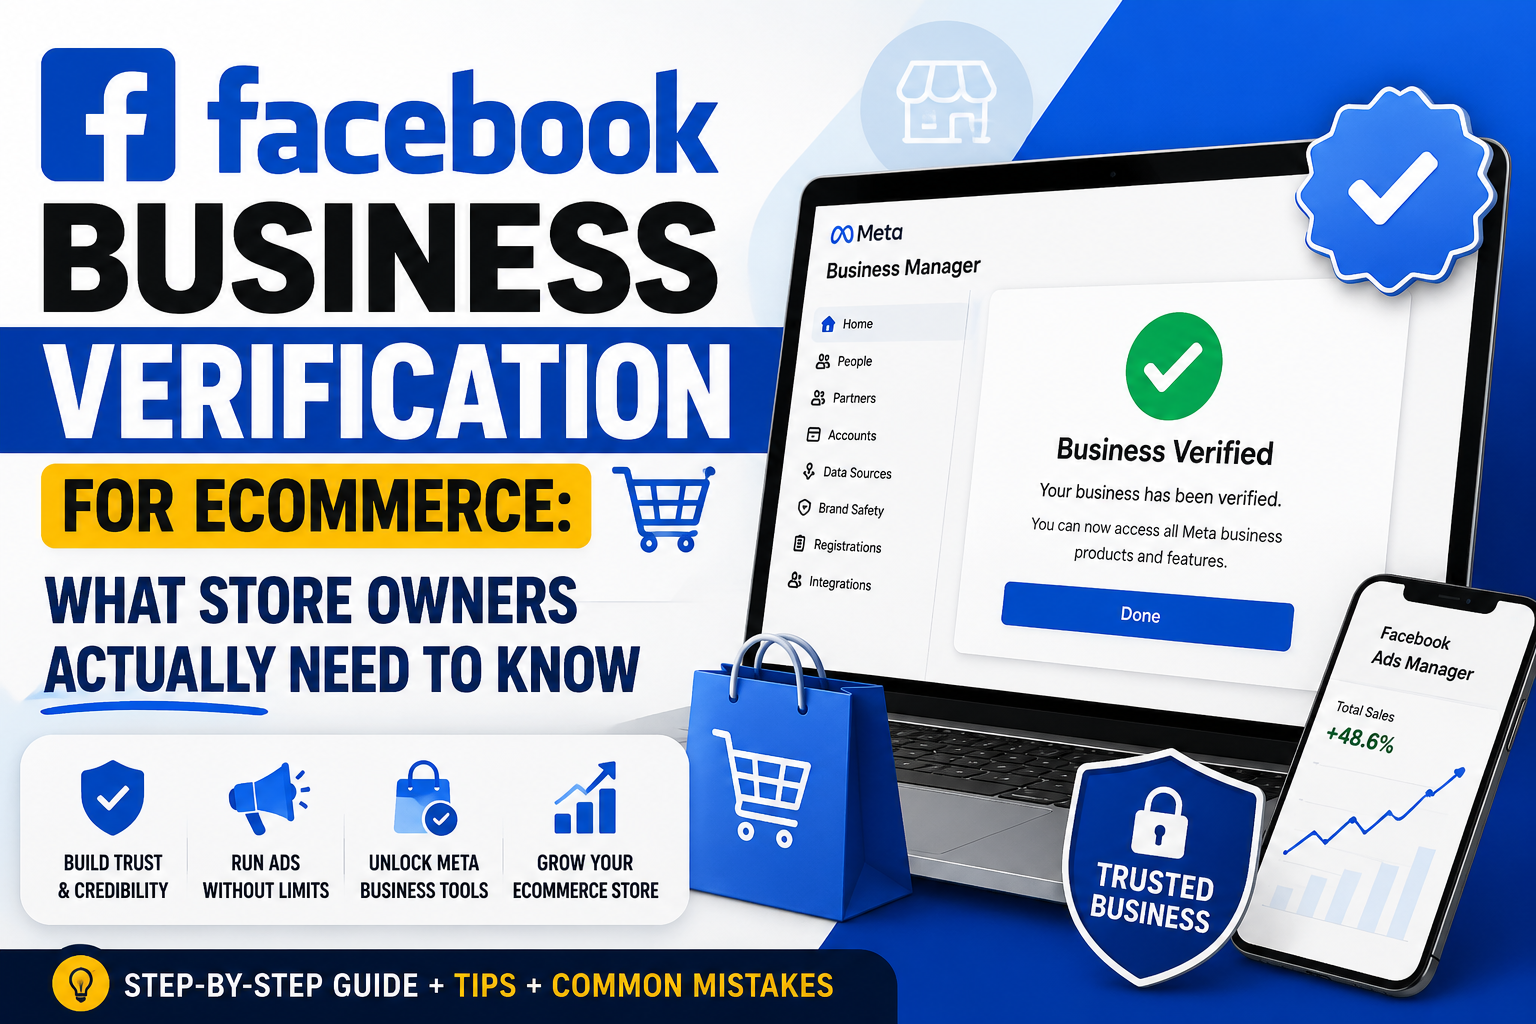
Running an online shop without a verified Facebook Business account feels like driving without insurance. Everything works fine until it doesn't. Then you're stuck.
Verification isn't glamorous. Nobody wakes up excited about uploading tax documents. Yet for eCommerce sellers who rely on Meta's ad platform, Shops feature, or WhatsApp Business API, skipping this step can quietly sabotage growth.
Why Verification Matters More Than You Think
Meta rolled out Business Verification years back as a fraud-prevention measure, and honestly, it worked. Fake storefronts, catfish ad accounts, and shady dropshippers got harder to hide. But legitimate merchants got swept into the process too.
Here's the practical fallout: unverified accounts often face lower ad spend limits. Some see delayed payouts on Facebook Shops. Others get locked out of Commerce Manager entirely after a routine review flags their account for "unusual activity," which is Meta-speak for we don't trust you yet.
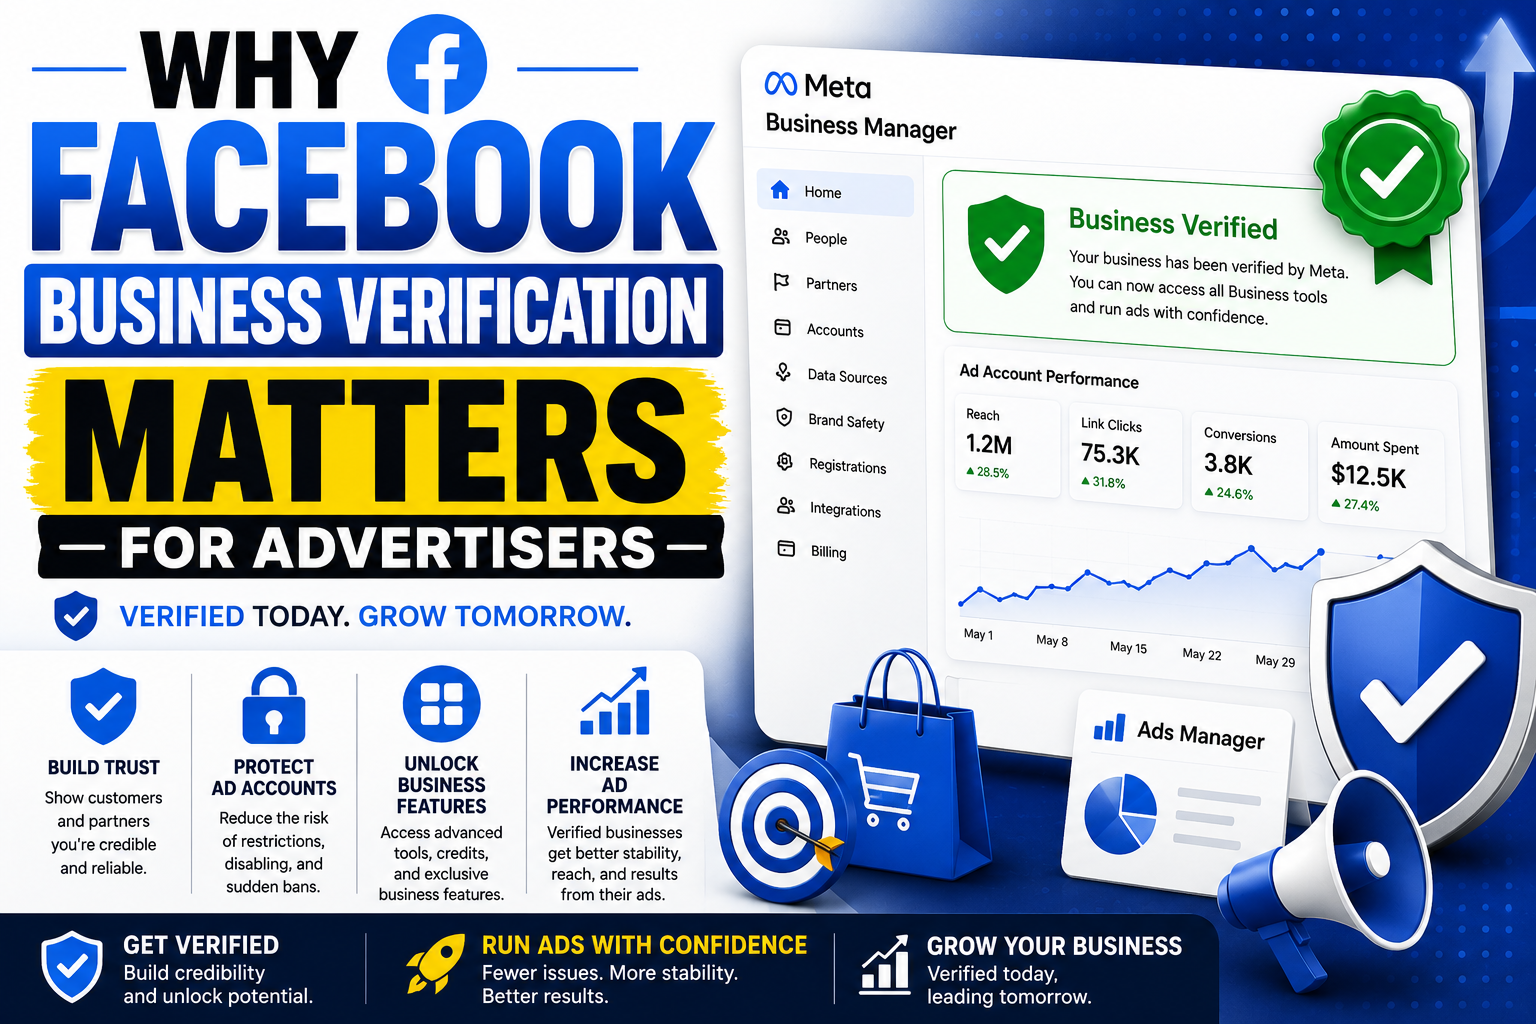
Verified businesses unlock trust badges, higher API rate limits, and smoother catalog approvals. For a seller pushing thousands of SKUs through Facebook and Instagram Shops, that difference isn't cosmetic. It's operational.
What Verification Actually Checks
Meta wants three things confirmed: legal existence, physical location, and legitimate ownership.
You'll typically submit:
- A government-issued business registration document
- Proof of address matching your Business Manager profile
- A domain you control, verified through DNS or file upload
- Sometimes, a business phone number that answers
Sole proprietors without formal registration sometimes hit walls here. If you're operating as an individual seller under your own name, gather whatever documentation proves the business exists, even a local trade license or a utility bill tied to your workspace.
The Verification Process, Step by Step
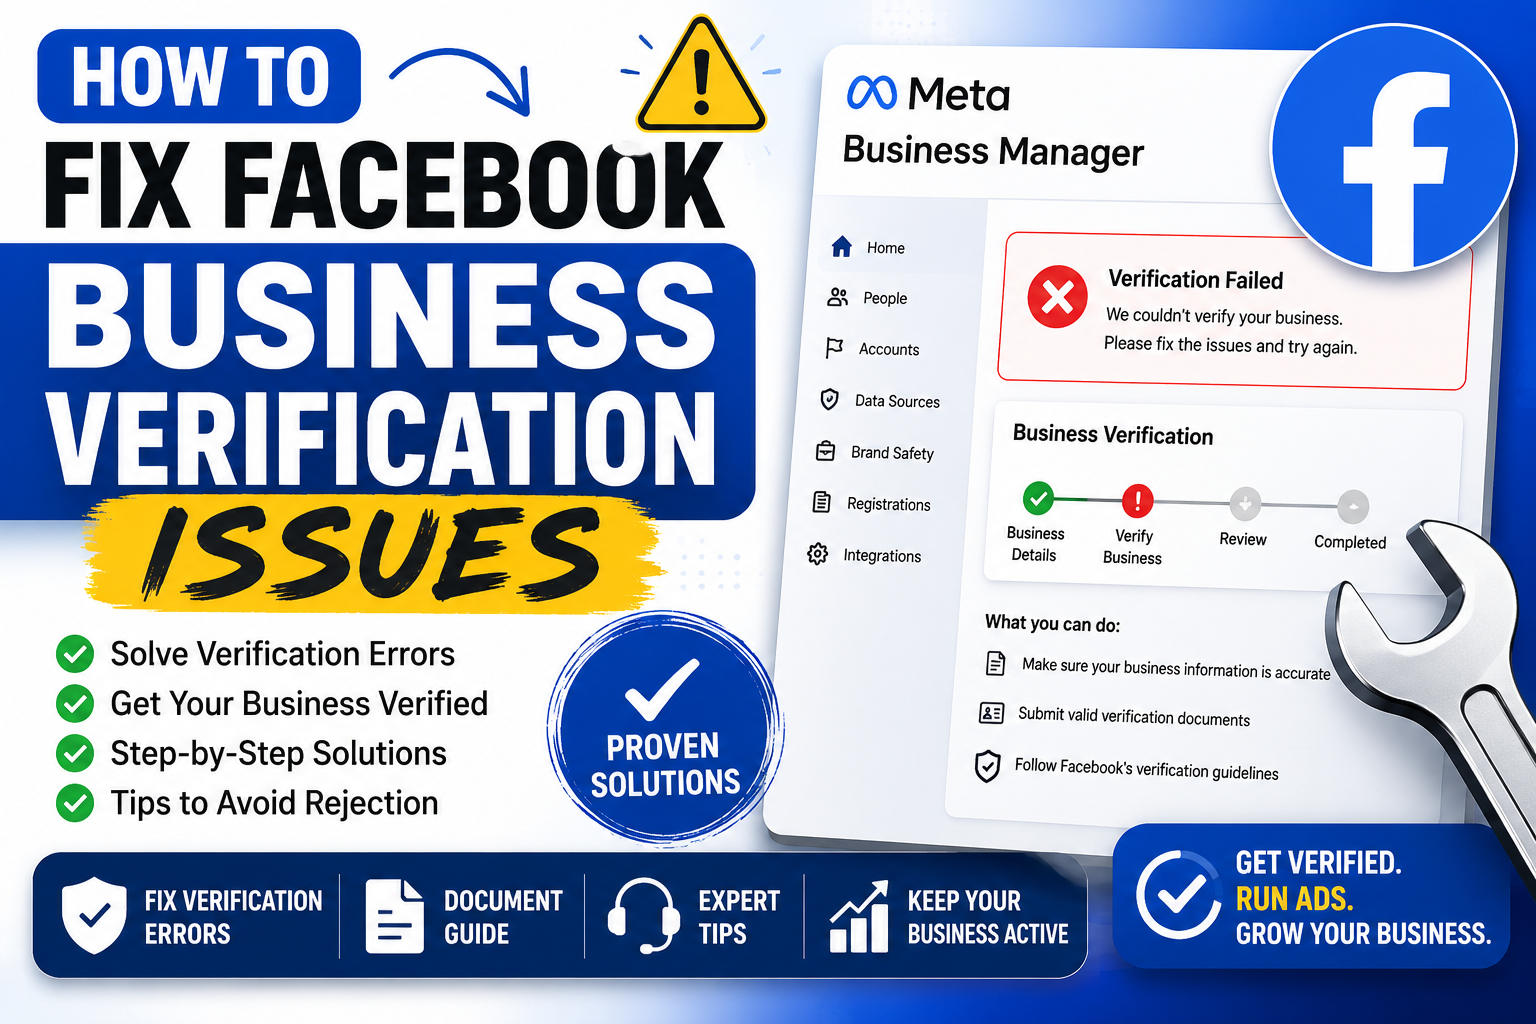
First, log into Business Manager and head to Business Settings. Look for Security Center, then Business Verification. Meta will ask which country your business operates in, so pick carefully; you generally can't change this later without starting fresh.
Next comes document upload. Choose files that clearly display your business name, address, and registration number. Blurry scans get rejected constantly, oddly enough more often than incomplete ones. Take a genuinely legible photo or export a clean PDF instead of snapping a crumpled receipt.
After submission, Meta reviews everything, usually within two to five business days, though horror stories of three-week waits circulate constantly across seller forums. Patience helps. Refreshing the dashboard every hour does not.
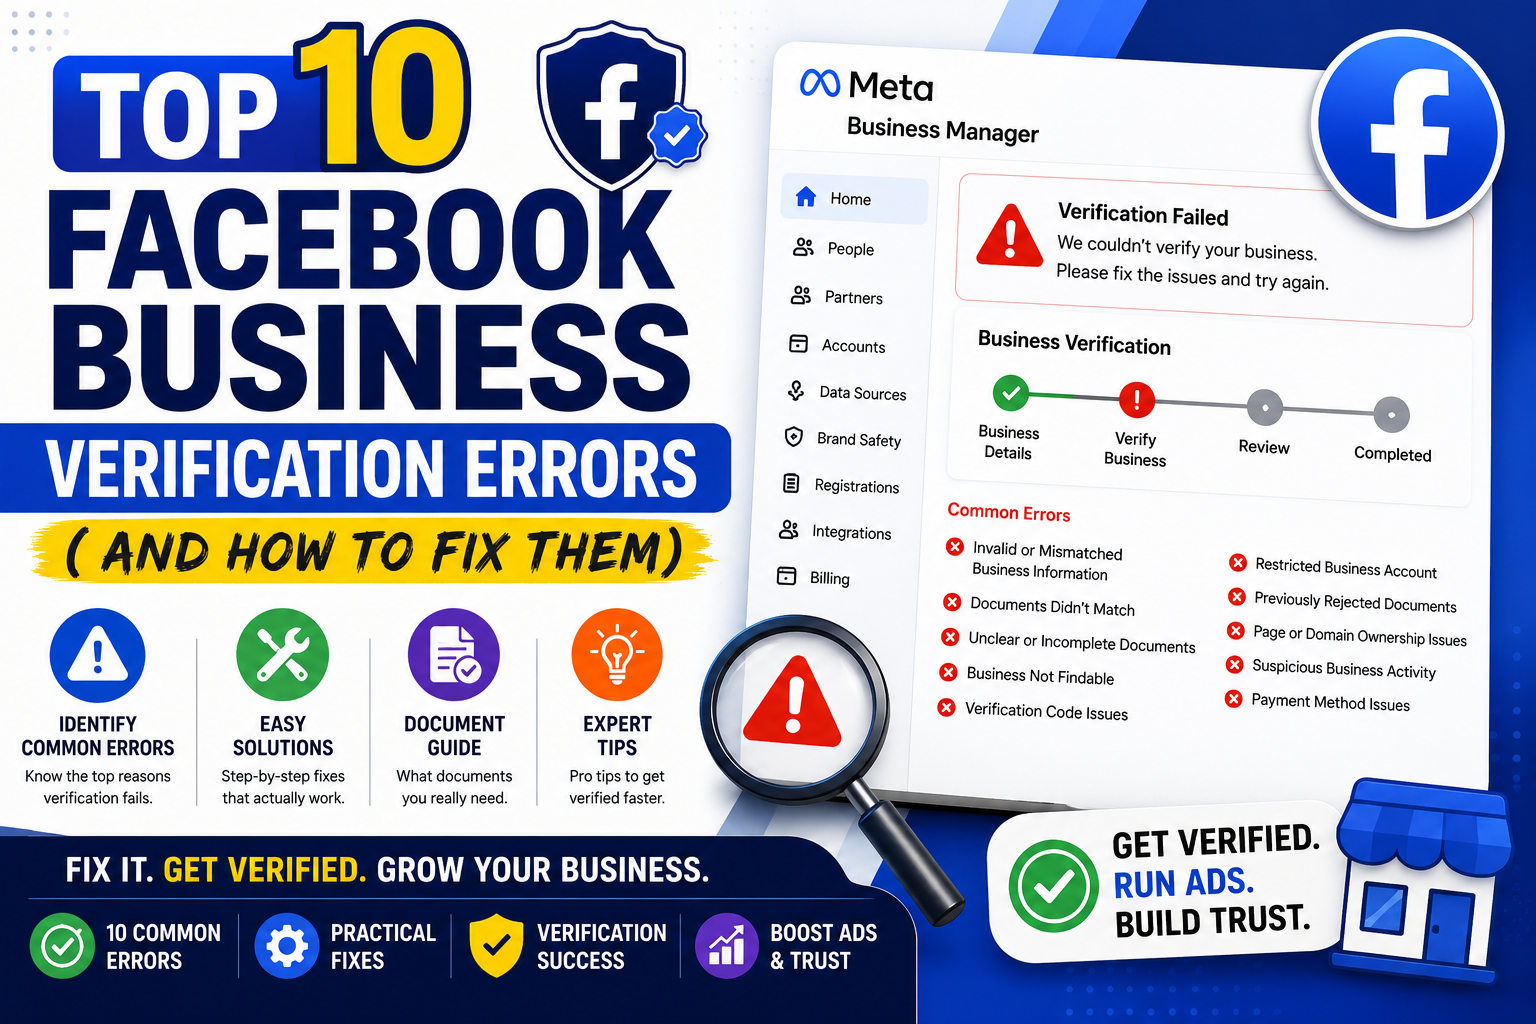
If approved, you'll see a green checkmark and expanded permissions almost immediately. If rejected, Meta rarely explains why in useful detail. Common culprits include mismatched addresses, expired documents, or a domain that fails ownership verification because someone forgot to add the DNS TXT record.
Common Pitfalls Sellers Stumble Into
Mismatched information trips up more merchants than anything else. Your business name on the registration certificate must mirror what's listed in Business Manager, down to punctuation. "Smith & Co LLC" and "Smith and Co" read as different entities to Meta's automated systems, unfortunately.
Domain ownership causes headaches too. Many sellers use platforms like Shopify or WooCommerce, and get confused about verifying a domain they don't technically host. Solution: add the TXT record through your domain registrar's DNS settings, not your storefront platform, since registrars control that layer.
Another trap involves address discrepancies between payment processors and Business Manager. If your Stripe or PayPal account lists a different registered address than what you submit to Meta, expect friction. Align these beforehand and save yourself a headache later.
Tips That Actually Speed Things Up
Submit during business hours in your region when possible; reviewers seem to process faster during standard operating windows, though nobody at Meta will confirm this officially.
Use a business email tied to your verified domain rather than a generic Gmail address. It signals legitimacy immediately and sidesteps unnecessary scrutiny.
Keep documents current. An expired trade license, even by a single day, triggers automatic rejection more often than you'd expect. Renew first, submit second.
If you operate across multiple countries, verify each Business Manager account separately per region rather than attempting some universal workaround. Meta's system doesn't reward cleverness here; it rewards straightforward compliance.
When Verification Gets Stuck
Sometimes accounts languish in review purgatory for reasons nobody can pin down. If weeks pass without movement, reach out through Meta Business Help Center rather than waiting indefinitely. Persistent, polite follow-up occasionally nudges a stalled case forward.
Third-party partners, agencies managing your ads, or freelance consultants sometimes cause confusion too. Multiple people submitting conflicting information under one Business Manager account can trigger fraud flags. Centralize who handles verification, and keep that process tidy.
The Bigger Picture
Verification feels bureaucratic, sure, and frankly it is. But eCommerce sellers who treat it as foundational infrastructure rather than an annoying checkbox tend to scale faster on Meta's platforms. Trust unlocks reach. Reach unlocks sales.
Think of it less as paperwork and more as building credibility with a system that increasingly gatekeeps visibility behind proof of legitimacy. Get your documents in order early, align your business details across every platform touching your storefront, and treat the whole ordeal as a one-time tax on future growth.
Once verified, most sellers rarely think about it again. The badge sits quietly in Business Manager, doing its job in the background while ads run, catalogs sync, and customers checkout without friction. That quiet reliability, ultimately, is the entire point.