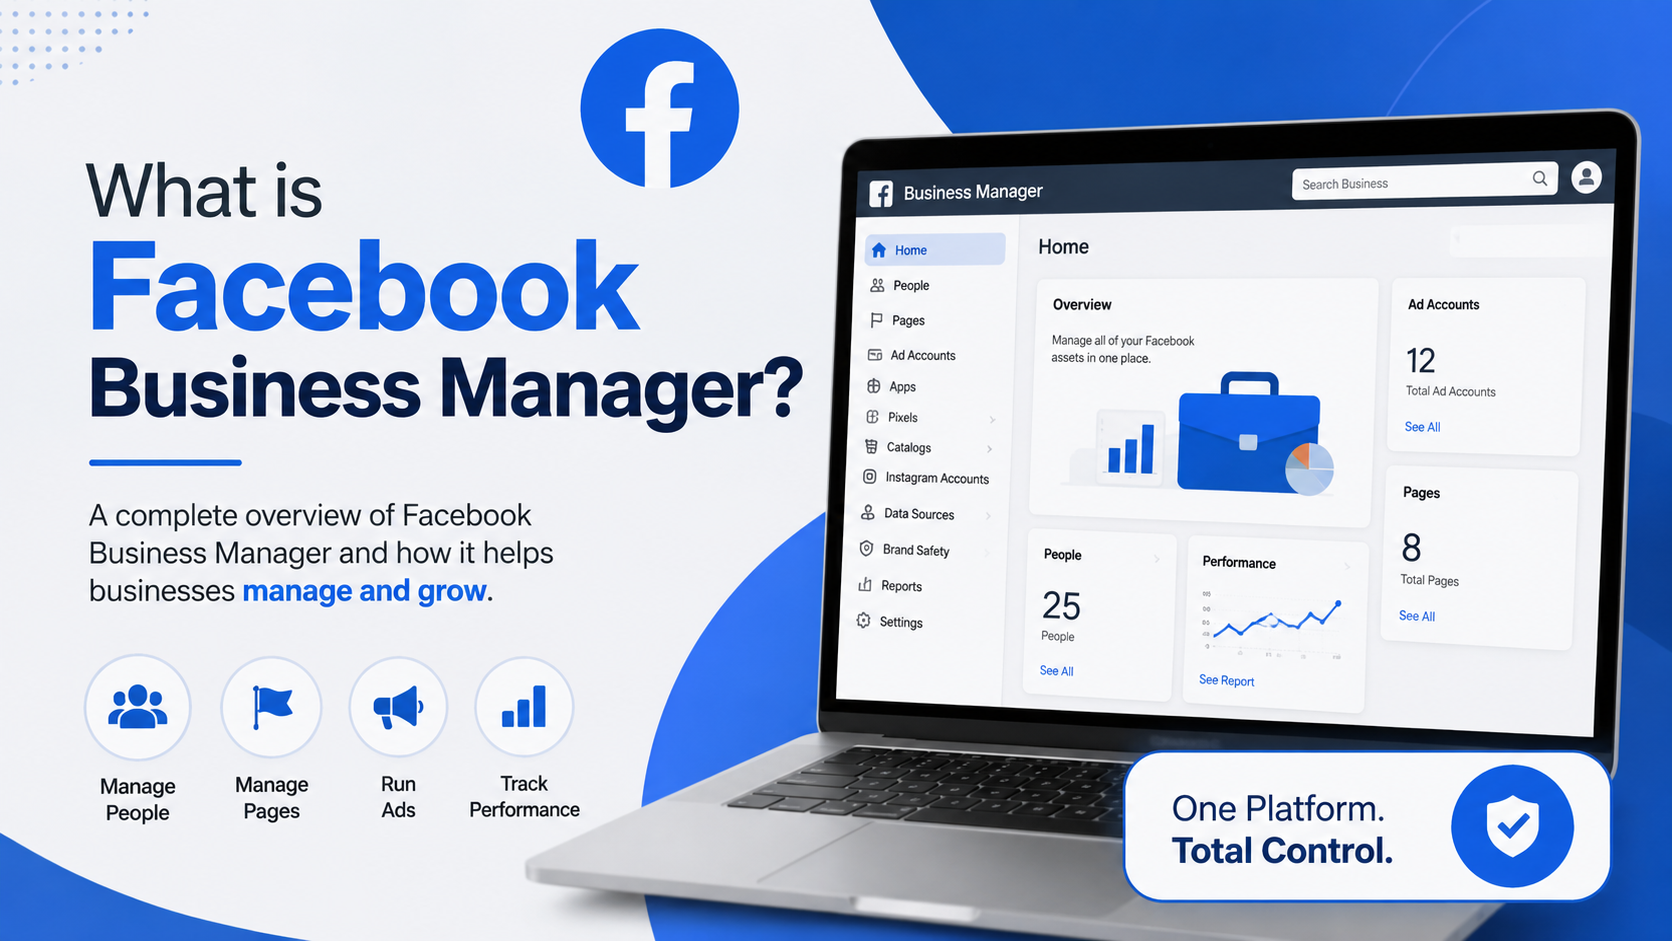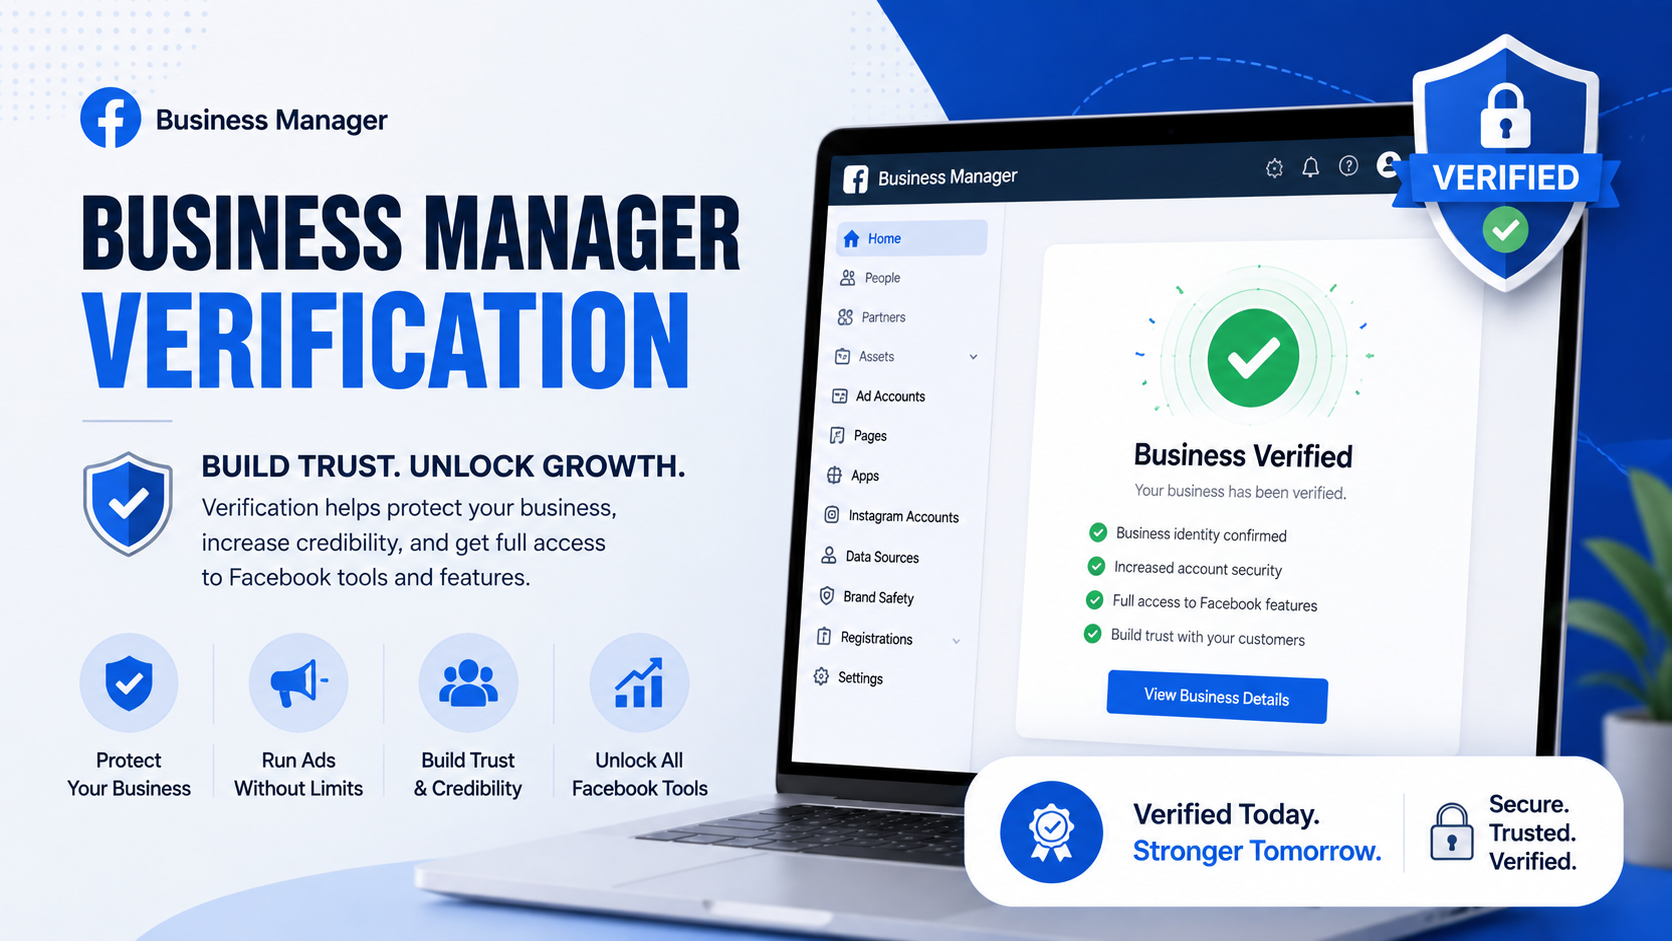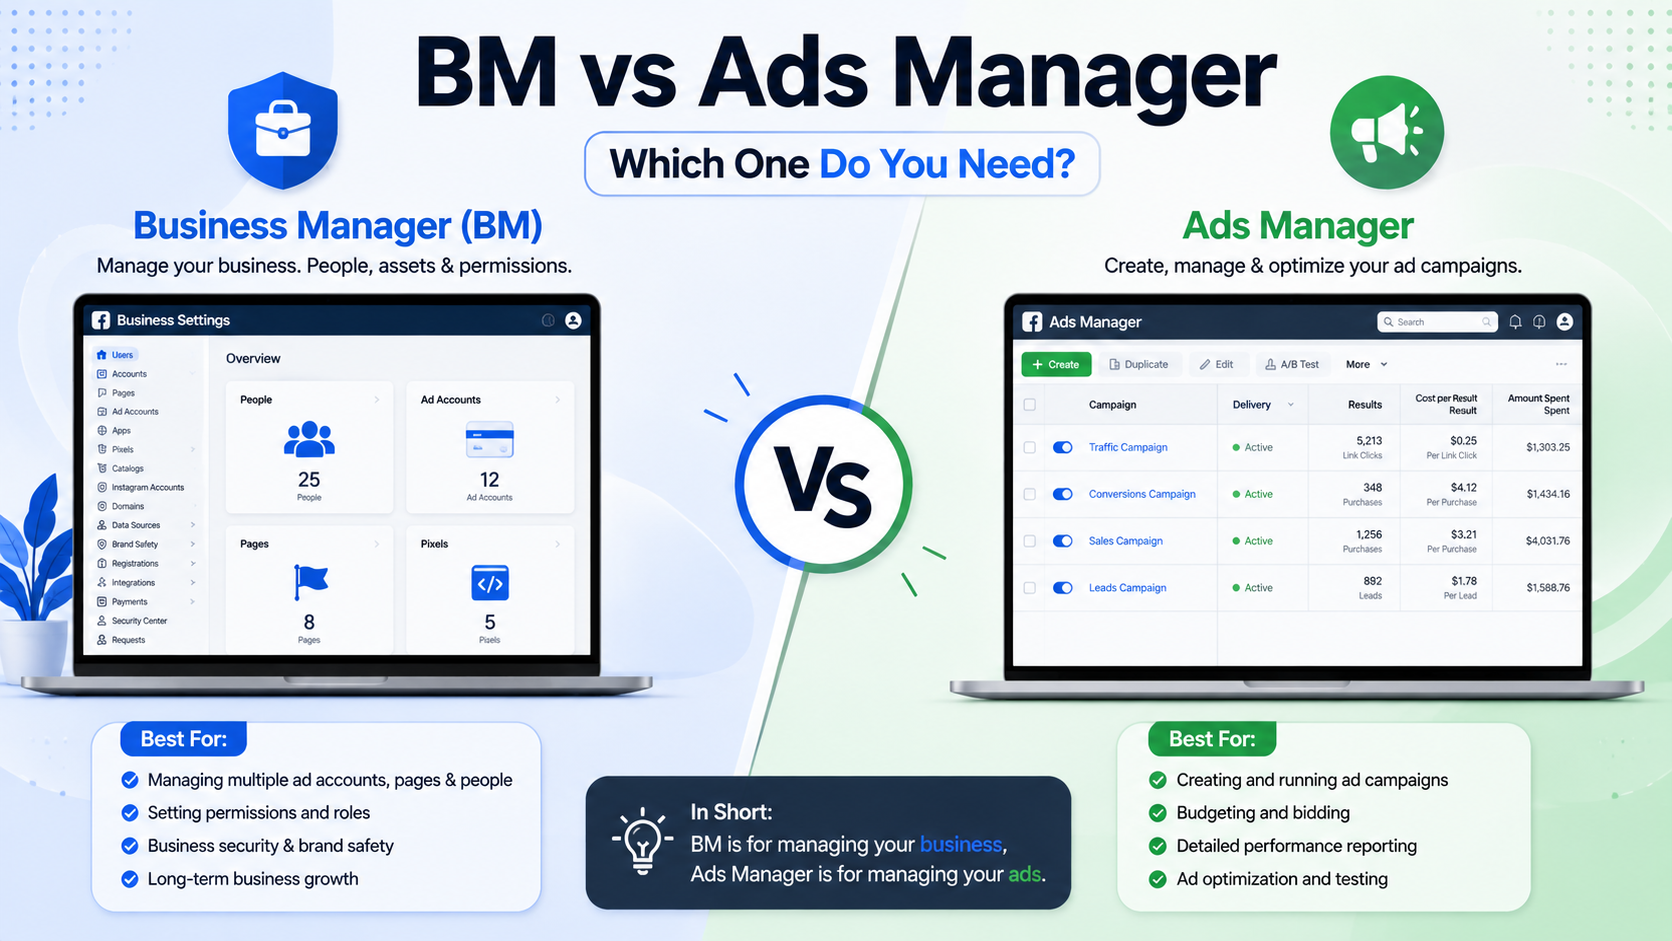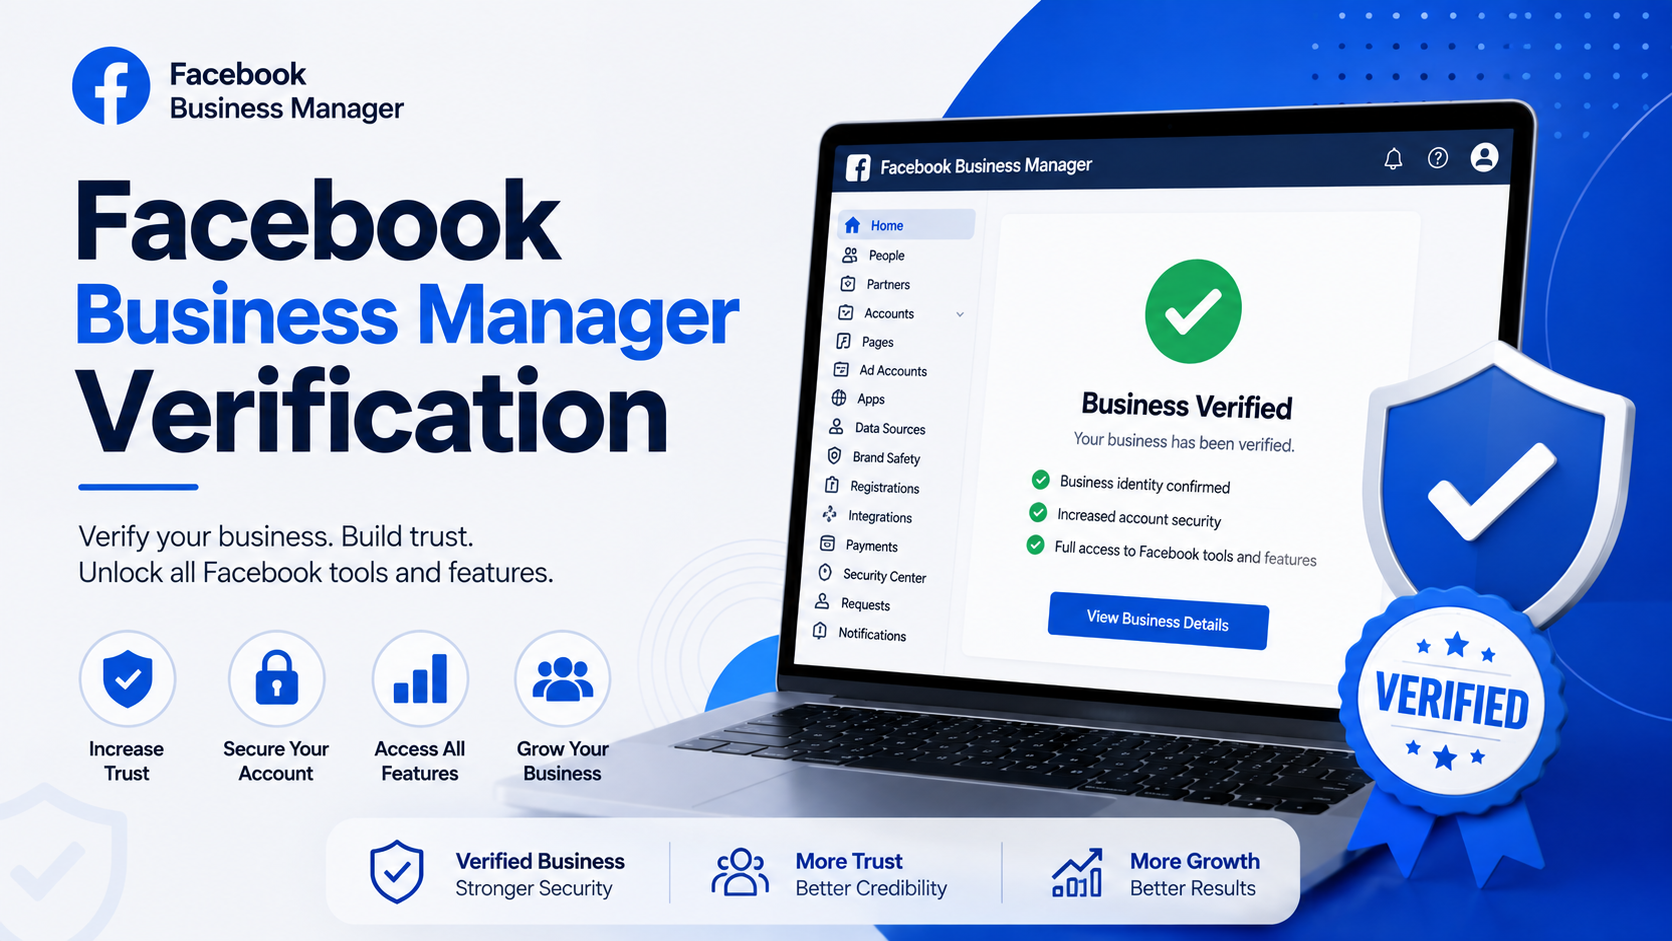
Running ads on Facebook without verifying your Business Manager feels like driving without insurance. Everything works fine, until it doesn't. Then you're locked out, scrambling, wondering why your ad account vanished overnight. Let's break down what verification really means, why Meta demands it, and how to survive the process without losing your mind.
Why Verification Exists At All
Meta didn't build this system for fun. Fraud, catfishing, and shady ad networks pushed the platform toward stricter identity checks years ago. Advertisers spending real money deserve accountability from whoever runs the account next door. So Meta asks businesses to prove they're legitimate operations, not fly-by-night scam shops.
Verification also protects brand names. Ever notice a knockoff Page pretending to be a major retailer? Confirmed businesses get priority when disputes arise over trademarks, page names, or ad content. Unverified accounts sit lower on the totem pole, often facing harsher restrictions and slower support responses.
Types of Verification You'll Encounter
Business Manager verification isn't one single process, oddly enough. Several layers exist, each serving a different function.
Business verification confirms your company legally exists. Meta wants documents: a business license, articles of incorporation, tax filings, utility bills tied to your registered address. Approval typically arrives within a few days, though some applications drag on for weeks.
Domain verification proves ownership over a website domain. You'll add a meta tag, upload an HTML file, or update DNS records through your registrar. This step matters enormously for anyone running multiple Pages tied to one domain, since it prevents random users from hijacking your web presence inside Business Manager.
Identity verification targets specific ad accounts, usually triggered by unusual spending patterns or policy flags. Meta may request a government ID, a selfie, or additional proof tying the human behind the account to the business itself.
Gathering Your Documents Before You Start
Nothing wastes time faster than submitting incomplete paperwork. Before clicking "Start Verification," round up these items:
- Legal business name matching your registration exactly
- Business address, current and verifiable
- Employer Identification Number or equivalent tax ID
- Official documents: articles of incorporation, business license, or a recent utility bill
- Domain access credentials for DNS or file upload
Small mismatches cause rejections constantly. If your Facebook Page lists "Smith's Bakery LLC" but your tax documents say "Smith Bakery, LLC," that comma and missing apostrophe might trigger a denial. Sounds absurd, yet Meta's automated review flags inconsistencies like a hawk.
Walking Through the Actual Process
Head to Business Settings inside Meta Business Suite. Navigate toward Business Info, then locate the verification section buried a few clicks deep. Meta occasionally shuffles this menu around, so don't panic if the layout looks unfamiliar compared to older tutorials floating around online.
Select your country and legal entity type first. Upload the requested documents next, making sure file formats match Meta's specifications; blurry photos or cropped edges cause instant rejections more often than people expect.
Domain verification runs through a separate flow. Three methods exist: DNS TXT record, HTML file upload, or meta tag insertion into your site's header. Developers usually prefer the DNS route since it avoids touching live site files. Non-technical users often lean toward the HTML upload method instead, dragging a file into their site's root directory through a hosting dashboard.
After submission, patience becomes mandatory. Some businesses get approved within hours. Others wait two or three weeks while Meta's review team works through backlogs.
Common Roadblocks and Fixes
Rejections happen constantly, and the reasons vary wildly.
Mismatched business names top the list of culprits. Double-check every character against your official paperwork before resubmitting anything.
Expired or low-quality document scans cause trouble too. Grab a proper scanner app rather than snapping a shaky phone photo under bad lighting.
Address discrepancies trip up plenty of applicants, particularly businesses that recently relocated. Update your registration records first, then attempt verification afterward, since Meta cross-references against public databases occasionally.
Domain ownership disputes arise when multiple Business Manager accounts claim the same domain. Only one account retains primary ownership rights; secondary claimants need explicit permission granted through Business Manager settings.
What Happens After You're Verified
A verified badge doesn't just sit there looking pretty. Verified businesses gain access to higher ad spending limits, faster appeal reviews, and priority customer support channels unavailable to unverified accounts.
Catalog and Commerce features often unlock more smoothly too. Shops selling through Instagram or Facebook benefit from smoother approval when their Business Manager carries verified status already.
Multi-user access also becomes cleaner. Agencies managing several client accounts find verified Business Managers far easier to navigate, since partner permissions and asset sharing behave predictably once trust signals are established.
Final Thoughts
Verification feels tedious, admittedly, yet skipping it invites unnecessary risk down the road. Ad accounts get suspended without warning sometimes, and unverified businesses face longer recovery timelines during those moments.
Treat the process like paperwork for a business license: annoying upfront, protective later. Gather your documents carefully, match your details precisely, and submit everything with patience rather than rushing through half-finished applications.